Clean up an image with precision

AIObject Remover

Use AI Object Remover to create an object-removal result from an upload and a practical editing brief.

Upload one image, describe the object to remove, generate, and inspect the complete result.

Shopping bag object removal source image
Source
Shopping bag object removal edited result
Result
Shopping bag object removal result detail
Detail

Editing examples

AI Object Remover Examples

These AI Object Remover examples show how an object-removal edit can be evaluated as a full image rather than treated as an automatic production change. Compare the output with the source at working size and at the crop shoppers will actually see. Check the subject, surrounding textures, merchandise details, light, shadows, and the purpose of the final placement before choosing a version.

Shopping bag object removal source image

Object removal for merchandise

Start with a source photo and define the visual distraction that competes with the item. Assess the object-removal result for packaging, edges, nearby surfaces, and whether the main subject remains easy to understand in the intended crop.

Shopping bag object removal edited result

Lifestyle object removal

For a lifestyle scene, state the visual problem and the object to remove. Afterwards, inspect background patterns, table edges, reflections, shadows, and scale so the object-removal output still supports the featured item rather than drawing attention away from it.

Shopping bag object removal result detail

Remove a visual distraction

Use a close catalog image when a competing detail makes the important feature harder to read. Compare labels, seams, finishes, typography, and contrast with the source before accepting an object-removal result for a catalog or campaign.

Shopping bag object removal edited result

Campaign object-removal edit

Treat an object-removal edit as a draft, especially when the asset contains brand elements, merchandise claims, people, or context that matters to the message. Check the final crop and the current rules of the destination channel yourself.

Use cases

Object Removal for Everyday Photo Editing

An AI Object Remover can help a team remove visual distractions for ecommerce, editorial, and campaign planning. Begin with a specific purpose, such as simplifying a merchandise scene, rather than asking for a vague improvement. The object-removal output still needs human review; it does not establish accuracy, ownership, marketplace compliance, or permission to publish.

Catalog photography

Remove a visual distraction when merchandise competes with incidental scene details. Keep the original beside the object-removal result and confirm labels, colors, materials, proportions, and required item information before preparing a listing submission.

Travel and lifestyle

For travel or lifestyle images, explain the unwanted object and assess the full scene after generation. Background architecture, repeating patterns, contact shadows, skin, fabric, and reflective materials may require another object-removal edit or a different source.

Campaign revisions

Use an object-removal result to discuss a campaign revision before commissioning a reshoot. Check that the scene still supports the merchandise message, leaves room for required copy, and does not introduce visual claims that the original asset did not make.

How it works

Remove an Object from a Photo in Three Steps

Start from one clear image and a concise description of the object to remove. This page uses a written direction rather than a precise-area editor, so describe the visual issue plainly and inspect the complete object-removal output after each attempt.

  1. 1

    1. Upload an image

    Upload a clear JPEG, JPG, PNG, or WEBP image with the product and the surrounding context visible. Avoid relying on a heavily compressed, blurred, tightly cropped, or already ambiguous source when an important detail must remain recognizable.

  2. 2

    2. Describe the object to remove

    Explain the unwanted object, the scene context, and the simpler composition you need. Include the intended placement, such as a listing tile, detail page, social post, or campaign layout, so you can assess the object-removal output in a real context.

  3. 3

    3. Generate and review

    Inspect the entire generated image, not only the intended cleanup. Compare product edges, packaging, text, colors, materials, reflections, shadows, patterns, and perspective with the source at both working size and final display size.

Targeted editing

Remove Visual Distractions Without Rebuilding the Image

Use the AI Object Remover as an object-removal workflow. The model is intended to create a coherent result from an uploaded image and your direction, while the final decision stays with the reviewer who understands the merchandise and placement.

01

Focused object removal

Describe the visual distraction and the cleaner composition you want to evaluate. Keep the request specific about the scene, but do not assume the object-removal result changes only one part of the image; inspect the complete frame after generation, including item details, surrounding surfaces, and brand-critical information.

Shopping bag object removal edited result

02

Listing-ready revisions

Use object removal to explore a simpler listing or campaign presentation, then compare it with the source. Give special attention to logos, labels, item boundaries, shade, finish, material texture, and any detail that informs a purchase decision or requires careful review against the channel's current image requirements.

Shopping bag object removal result detail

03

Scene refinement

Use the object-removal output to assess whether a scene feels less cluttered while still communicating the intended context. Check neighboring objects, surfaces, patterns, reflections, light, shadows, and perspective rather than assuming they remain unchanged, especially when the scene contains small text, reflective materials, or repeated geometry.

Shopping bag object removal edited result

Product categories

Object Removal for Ecommerce Product Photography

Use object removal on common category images before a listing or campaign review.

Beauty serum in a coral studio setting

Beauty

Remove an unwanted object near packaging.

Headphones in a cobalt product setting

Electronics

Keep attention on device features.

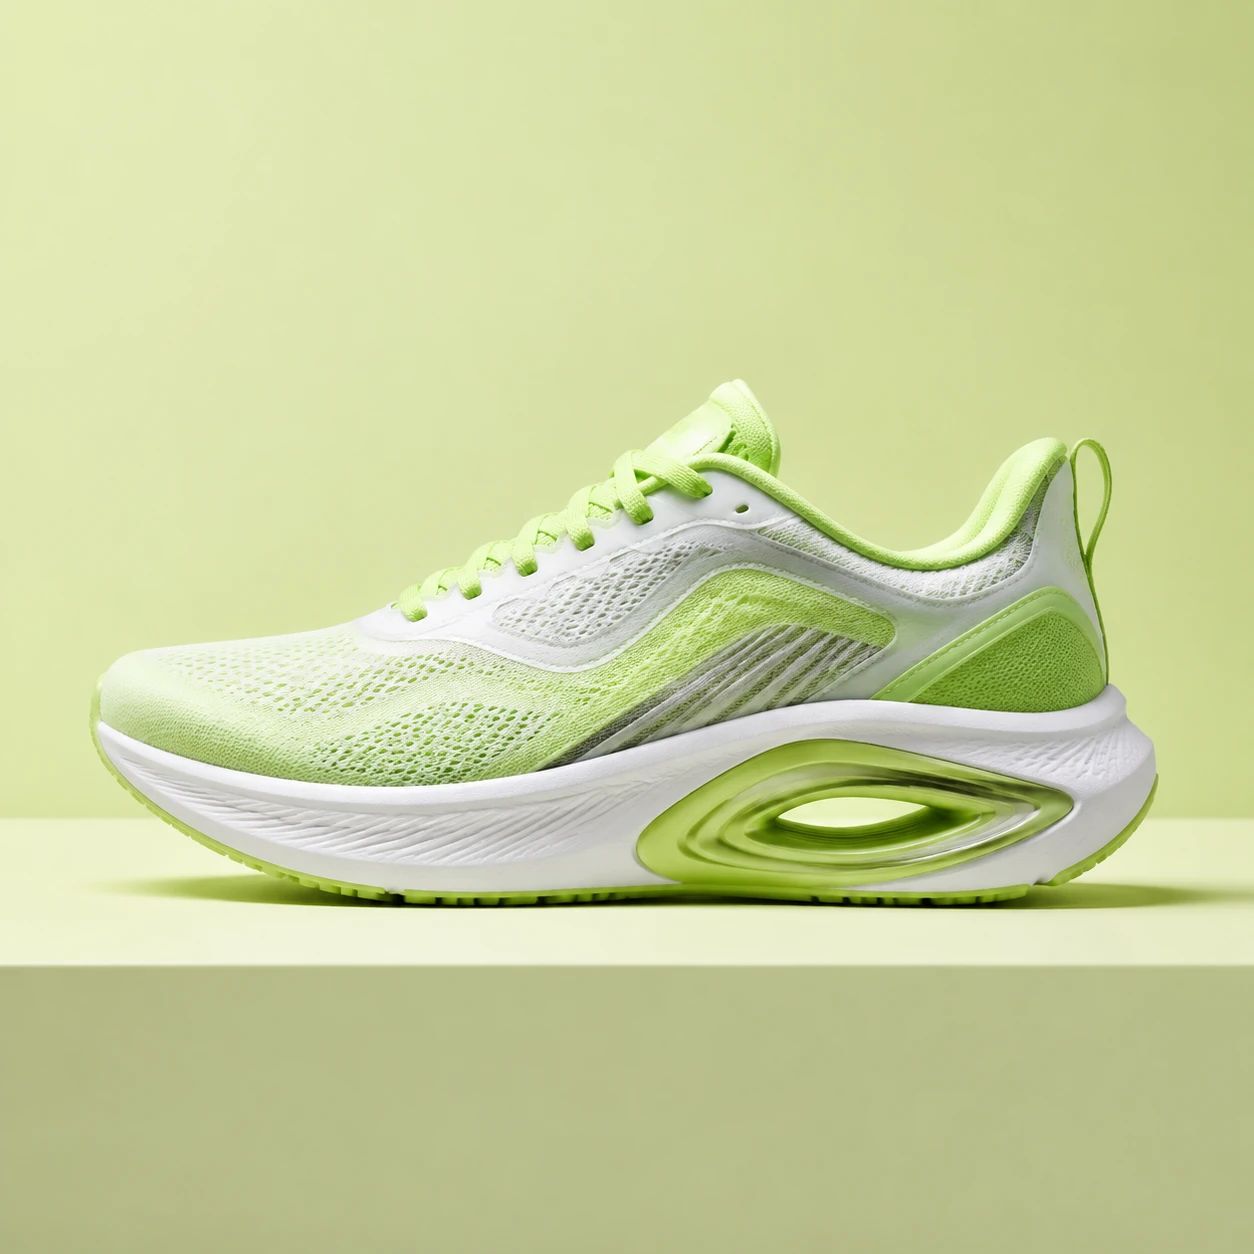
Sneaker in a lime studio setting

Footwear

Refine a product composition.

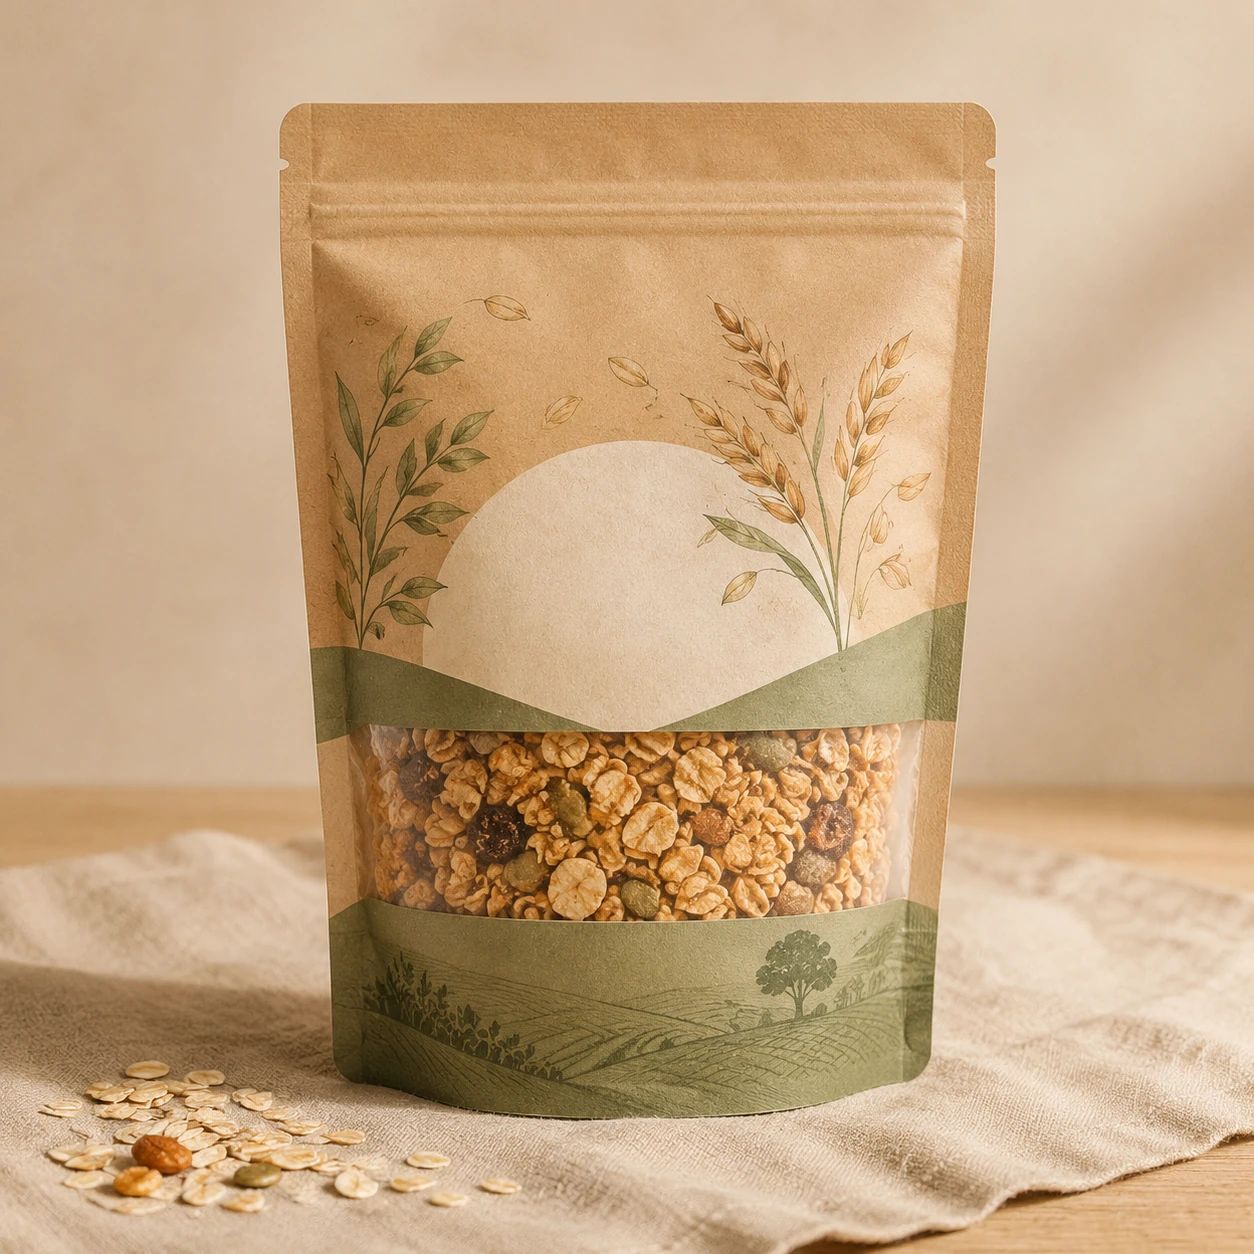
Packaged food product in a linen setting

Food and drink

Remove visual distractions from a serving scene.

FAQ

AI Object Remover FAQ

Answers for targeted image cleanup.

What can an AI Object Remover help me explore?

It can help you explore a cleaner generated version of an uploaded image when a product scene feels visually crowded. Describe the distraction and the composition you need, then assess the result as a complete image. Do not treat the output as proof that a particular object, pixel, product detail, or nearby background element was changed exactly as requested.

Can I use it for product photos?

Product photography can be a useful use case when incidental scene detail competes with the item. Start with a clear source where the product is visible, describe the desired cleanup direction, and compare the result with the source. Before publishing, verify packaging, label text, logos, colors, proportions, material cues, and the product information shoppers need to see.

Can I target one precise part of the image?

This workflow accepts an uploaded image and an optional written direction, then returns a generated result for full-frame inspection. Explain the cleanup goal in plain language and check the complete image after generation. Do not assume that a change stays confined to one detail or that the rest of the source remains unchanged.

How should I write a cleanup direction?

Name the visible distraction, the product or subject that should remain prominent, the surrounding setting, and the intended placement. For example, explain that a product listing needs a quieter tabletop scene with the package facing forward. Keep the request practical and concise. After generation, review whether the whole composition actually supports that use rather than judging only one visual detail.

What source image should I upload?

Choose the clearest available image in which the main product and its surroundings are easy to inspect. Leave useful context around the item and avoid severe blur, extreme compression, clipped highlights, heavy reflections, or crops that already hide an important edge. A stronger source gives you a clearer basis for evaluating whether the generated cleanup remains suitable for the intended asset.

What details need the closest review?

Review the product first: its outline, logo, label, small text, color, proportions, texture, finish, and shadows. Then review the scene: surfaces, repeated patterns, seams, reflections, background geometry, lighting, and perspective. Check at working size and at the final placement size. A clean-looking image is not ready when a brand-critical or purchase-critical detail is unclear.

Can I use a generated cleanup for a marketplace listing?

Consider it only after checking the current image requirements for the specific marketplace, store, or campaign channel. Review permitted background treatments, category rules, cropping, product visibility, and any claims made by the image. The AI Object Remover supports creative exploration; it does not automatically provide brand approval, legal clearance, or compliance with a platform's current standards.

How should a team review several cleanup options?

Place candidate images beside the original source and view them in the same crop where they will appear. Use one checklist for every option: product accuracy, visual clarity, light, shadows, surrounding context, copy space, and channel requirements. Choose the image that communicates the product most clearly, not simply the option that appears most dramatic at a large preview size.

What if the generated image introduces an unexpected detail?

Do not publish it without resolving the issue. Identify what changed, whether it affects the product or message, and whether a clearer request or stronger source image would help. You can try another direction with fewer competing instructions. When the feature, label, material, or scene remains ambiguous, use a different asset or return to the original photography workflow.

Can this replace a product reshoot?

It can support early cleanup exploration and help a team discuss a direction, but it does not remove the need for suitable source photography or final quality control. A reshoot may remain the better option when product geometry, small text, reflective materials, exact color, regulated claims, or a complex scene must be represented accurately for customers or a sales channel.


Create a Cleaner Image

Use AI Object Remover to explore a cleaner direction for your next product photo or image edit, then review the complete generated image before using it.

Start with one clear image, a practical cleanup direction, and a careful review.

Shopping bag object removal edited result