
Ritaglio verticale
Separa una persona da una scena frenetica, quindi controlla capelli, spalle, bordi dei vestiti e qualsiasi dettaglio traslucido prima di inserire il ritratto in un profilo, post sui social o layout della campagna.
Ritagli per immagini
Rimuovi gli sfondi da prodotti, persone o loghi, quindi rivedi un ritaglio trasparente.
Carica un'immagine chiara, genera un ritaglio e rivedilo.
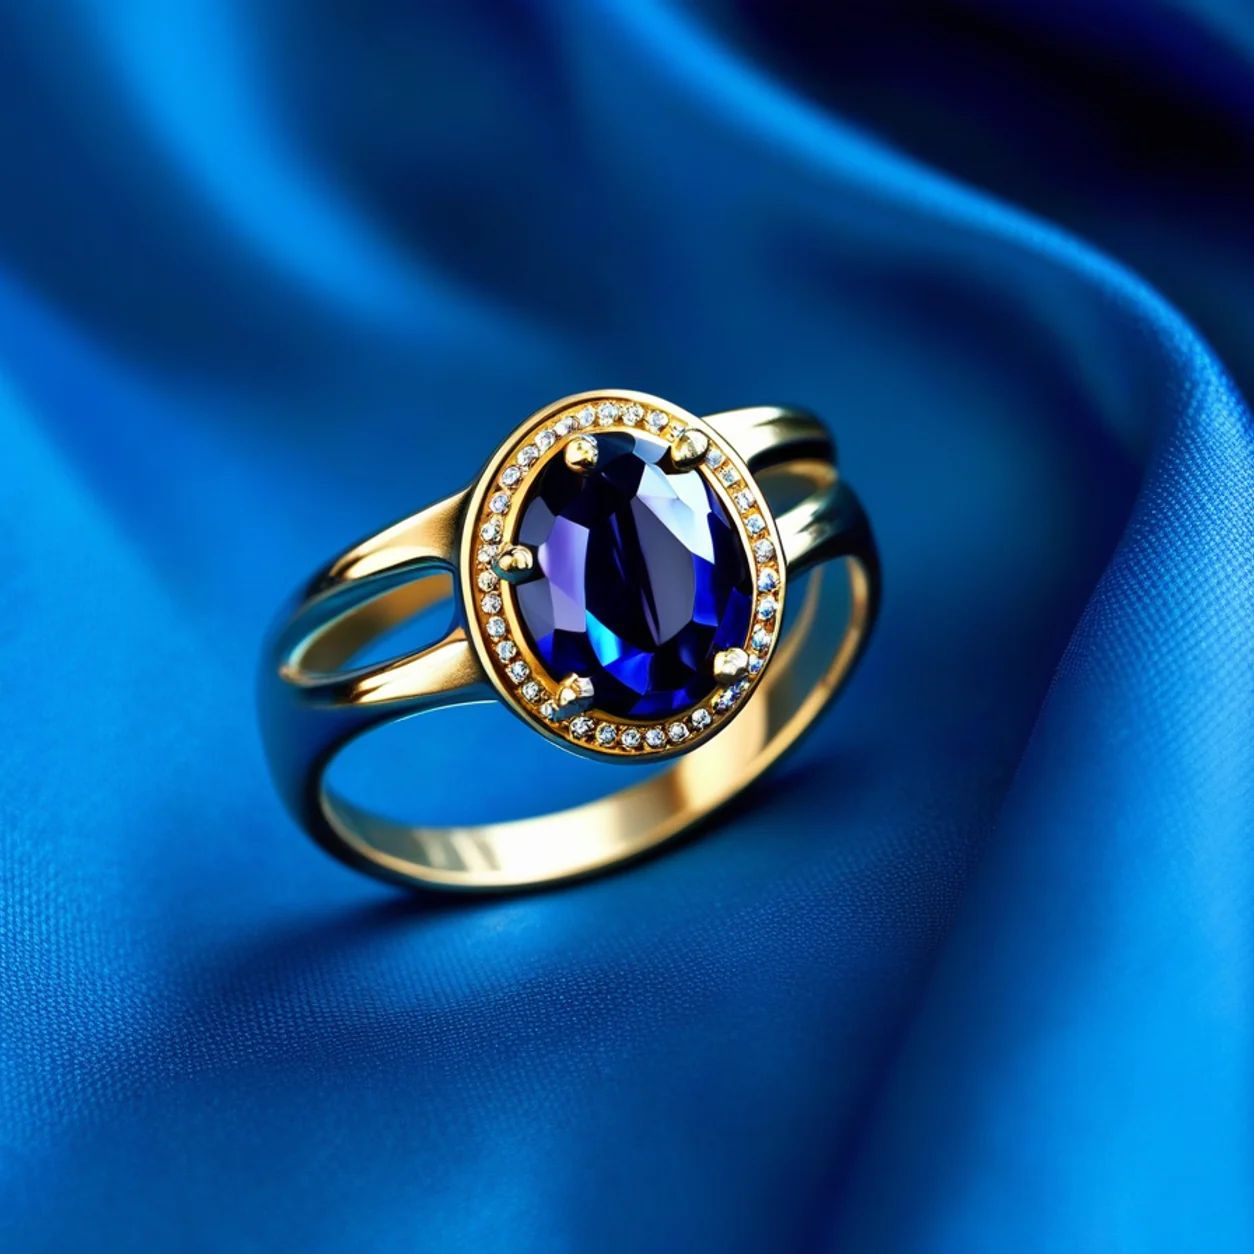
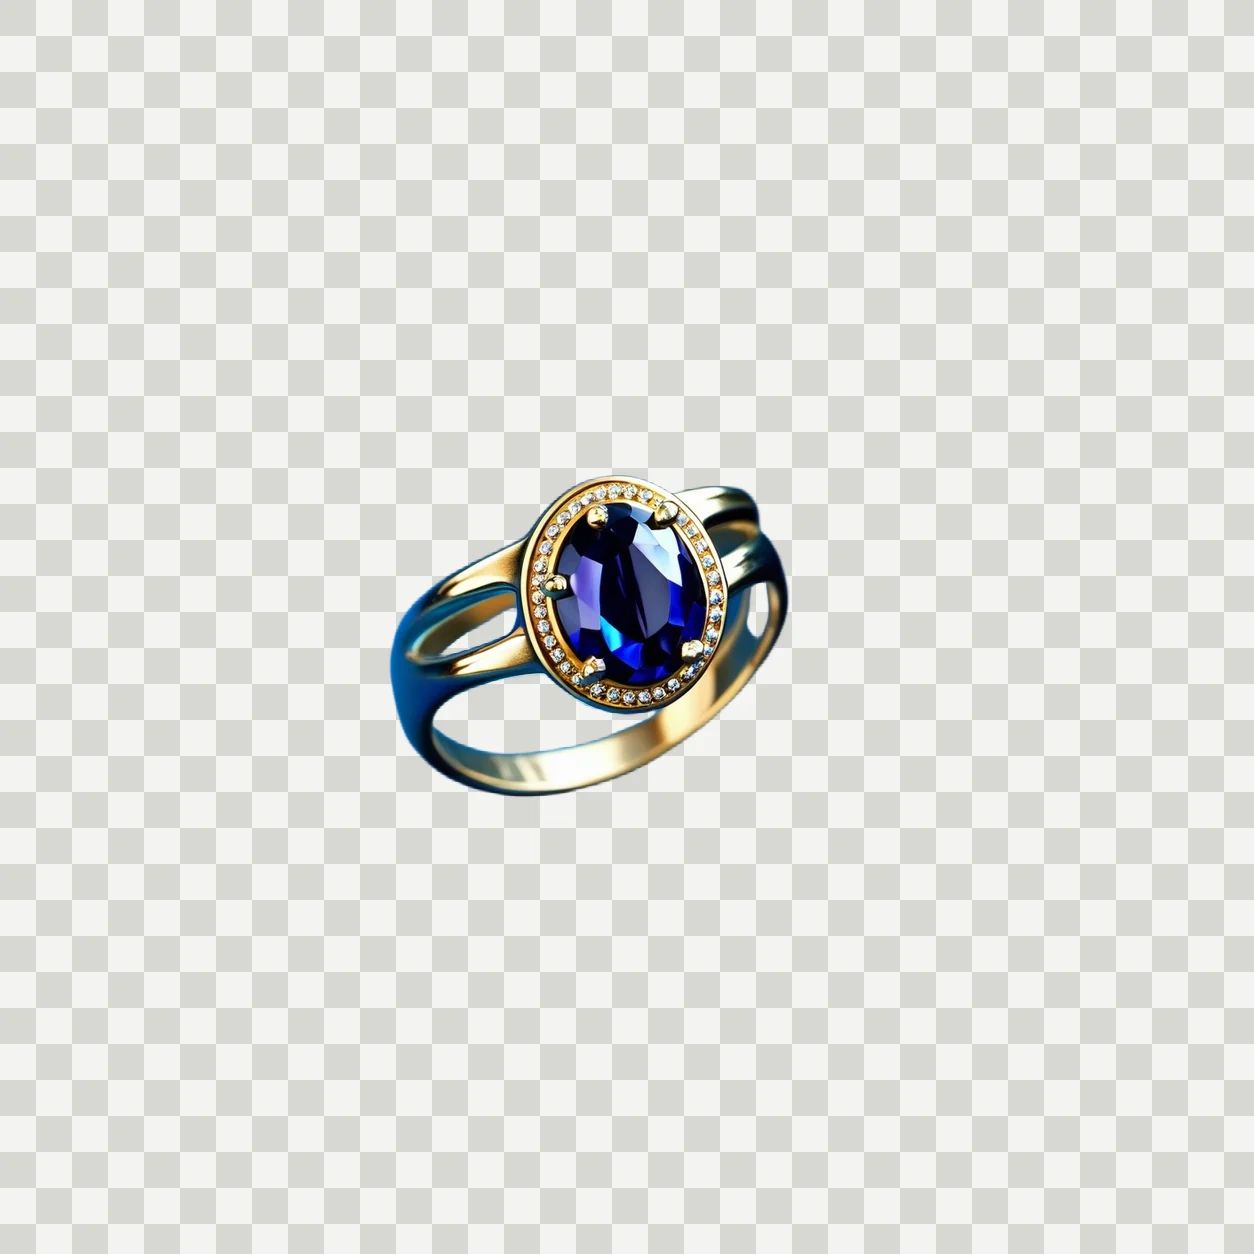

Esempi di rimozione dello sfondo
Un ritaglio trasparente dà a un team un livello soggetto riutilizzabile, non una risorsa finale automatica. Confronta l'immagine originale con il risultato, quindi testala rispetto alla tela, al ritaglio e allo sfondo effettivi in cui apparirà. Questa recensione aiuta a rivelare bordi sfumati, dettagli mancanti o problemi di scala prima che il ritaglio raggiunga una pagina del prodotto, una presentazione, una campagna o un passaggio di consegne del design.
Separa una persona da una scena frenetica, quindi controlla capelli, spalle, bordi dei vestiti e qualsiasi dettaglio traslucido prima di inserire il ritratto in un profilo, post sui social o layout della campagna.
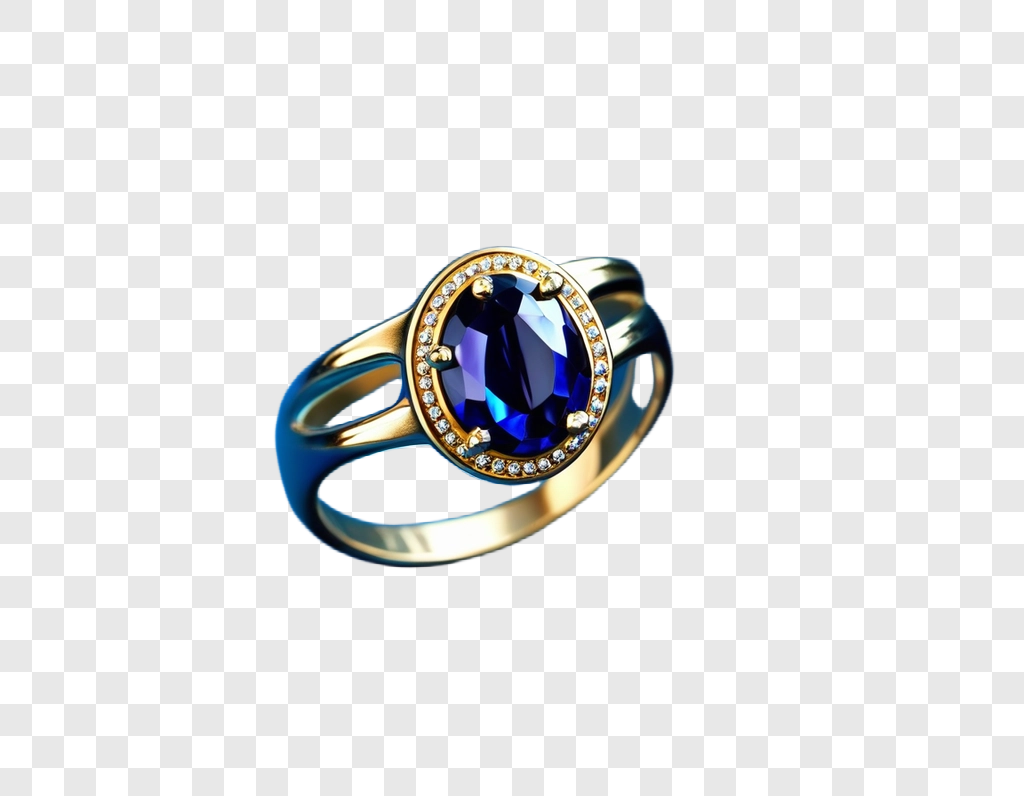
Prepara un anello o un accessorio come strato PNG trasparente mentre rivedi i contorni sottili, le luci, le pietre e le superfici riflettenti rispetto all'immagine di origine.
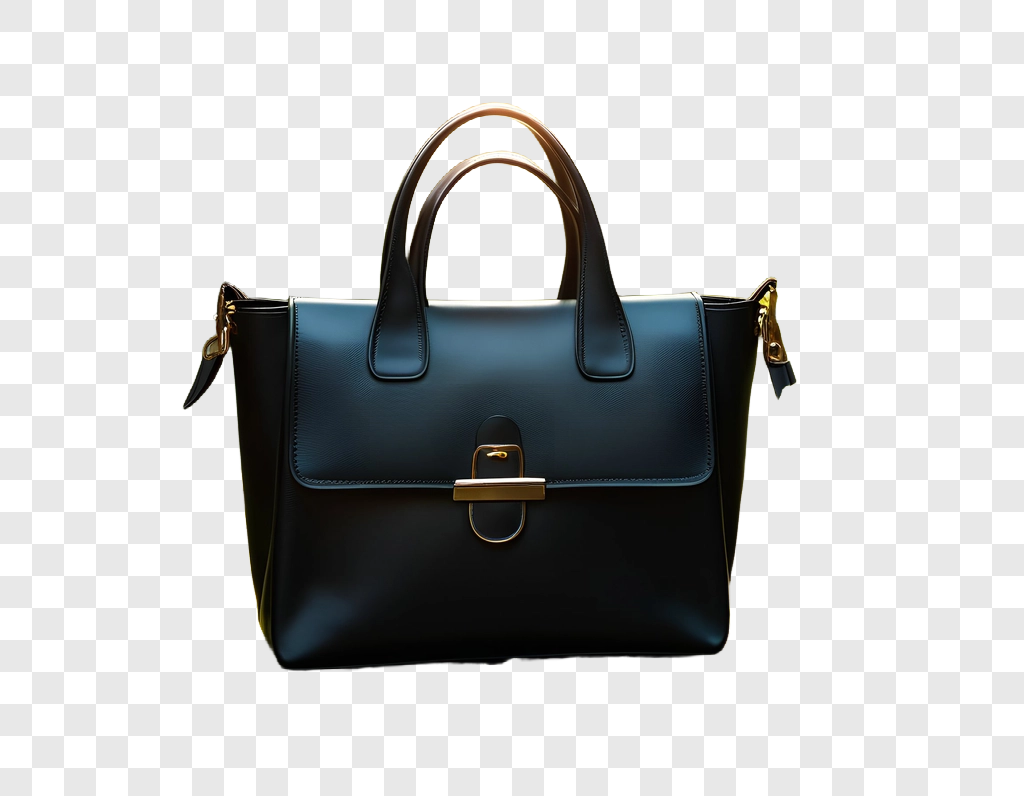
Crea uno strato di prodotto per la creatività della vetrina, quindi ispeziona cinghie, cuciture, hardware, loghi e colori prima di utilizzare il ritaglio su un nuovo sfondo.
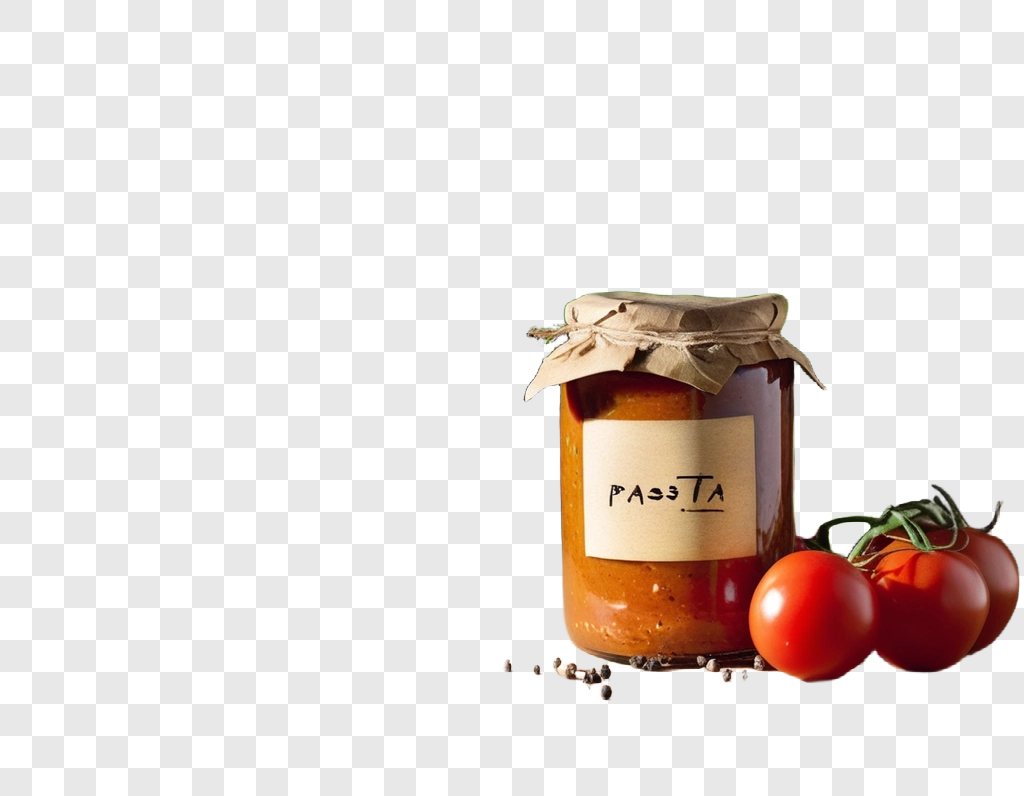
Mantieni visibile la confezione per la composizione del catalogo, prestando molta attenzione al testo dell'etichetta piccola, ai bordi del tappo, al vetro, ai riflessi e alla silhouette del prodotto.
Casi d'uso
Uno strumento di rimozione dello sfondo AI può preparare un soggetto per molte attività a valle, tra cui un'immagine dell'elenco bianco, una nuova scena di prodotto, un grafico di confronto o un layout con marchio. Inizia definendo la destinazione piuttosto che trattare tutti i PNG trasparenti allo stesso modo. Una piastrella del marketplace, un banner editoriale, una presentazione interna e un post sui social potrebbero richiedere colture, dimensioni, margini e standard di revisione diversi.
Crea un ritaglio di prodotto pulito per un annuncio con sfondo bianco o una pagina dei dettagli del prodotto, quindi controlla le regole di immagine correnti del canale, il ritaglio, i margini e i dettagli del prodotto visibili.
Riutilizza una persona in un profilo, diapositiva, creatività sociale o layout della campagna dopo aver controllato capelli, tessuto, occhiali, mani e bordi alla dimensione visualizzata.
Rimuovi uno sfondo da un segno, un adesivo o un'immagine prima di comporlo altrove, confermando che le linee sottili, le lettere e le aree trasparenti previste rimangono intatte.
Un ritaglio utile inizia con un'immagine sorgente in cui il soggetto è visibile e distinguibile dall'ambiente circostante. Il dispositivo di rimozione può creare un punto di partenza PNG trasparente, ma il risultato richiede comunque un'ispezione deliberata. Rivedere l'argomento su sfondi temporanei chiari e scuri, a dimensione di lavoro e al posizionamento finale, prima di approvarlo per l'uso di design o e-commerce.
Scegli una foto, un ritratto, un logo o un'immagine del prodotto con un soggetto visibile. Evita sfocature gravi, soggetti minuscoli, bordi ritagliati e aree occupate in cui il soggetto si fonde già con lo sfondo.
Eseguire la rimozione dello sfondo per isolare il soggetto. Tieni vicino la fonte originale in modo da poter confrontare la silhouette, i colori, i piccoli dettagli e le aree in cui lo sfondo ha toccato il soggetto.
Ispeziona bordi, fori, ombre, capelli, tessuti, etichette, loghi e materiali riflettenti. Testare il ritaglio rispetto allo sfondo previsto e rivedere la fonte o provare un altro risultato quando i dettagli non sono chiari.
Cosa gestisce
Utilizza l'output di uno strumento di rimozione dello sfondo AI come livello di lavoro per la fotografia, la progettazione e la produzione di contenuti del prodotto. Lo strumento aiuta a isolare un soggetto visibile, mentre la revisione finale determina se i suoi bordi, dettagli e posizionamento sono adatti al canale.
01
Rimuovi uno sfondo dalle foto del prodotto per creare un livello soggetto riutilizzabile per cataloghi, nuove scene e layout di confronto. Rivedere cinghie, maniglie, angoli, ritagli, cuciture e aree di contatto in cui lo sfondo originale può ancora influenzare il bordo visibile. Confrontare il risultato con la fonte prima di scegliere la composizione.
02
Usa la rimozione dello sfondo per ritratti, gioielli, tessuti, etichette e soggetti dettagliati, quindi ispeziona a una dimensione maggiore. Capelli, linee sottili, materiale traslucido, metallo lucido e testo piccolo possono richiedere una revisione più approfondita. Testare il PNG trasparente su sfondi chiari e scuri per esporre aloni, aree mancanti o fuoriuscite di colore.
03
Prepara un PNG trasparente come livello flessibile per un negozio, uno strumento di progettazione o un file della campagna. Definisci prima la sua destinazione: le piastrelle quadrate degli annunci, i banner, le presentazioni e i post sui social hanno bisogno di dimensioni e spazio vuoti diversi. Tieni insieme la fonte approvata e il ritaglio in modo che le modifiche future possano essere riviste in modo coerente.
Categorie di prodotti
Diversi materiali rendono visibili diversi problemi ai bordi. Usa le convenzioni di categoria per pianificare la revisione, quindi giudica il risultato effettivo rispetto alla fonte e al canale di destinazione. Le foto e le immagini dei prodotti devono rimanere accurate e comprensibili dopo la rimozione di uno sfondo, in particolare quando il colore, l'imballaggio, la finitura o la forma del prodotto influenzano la decisione di un cliente.
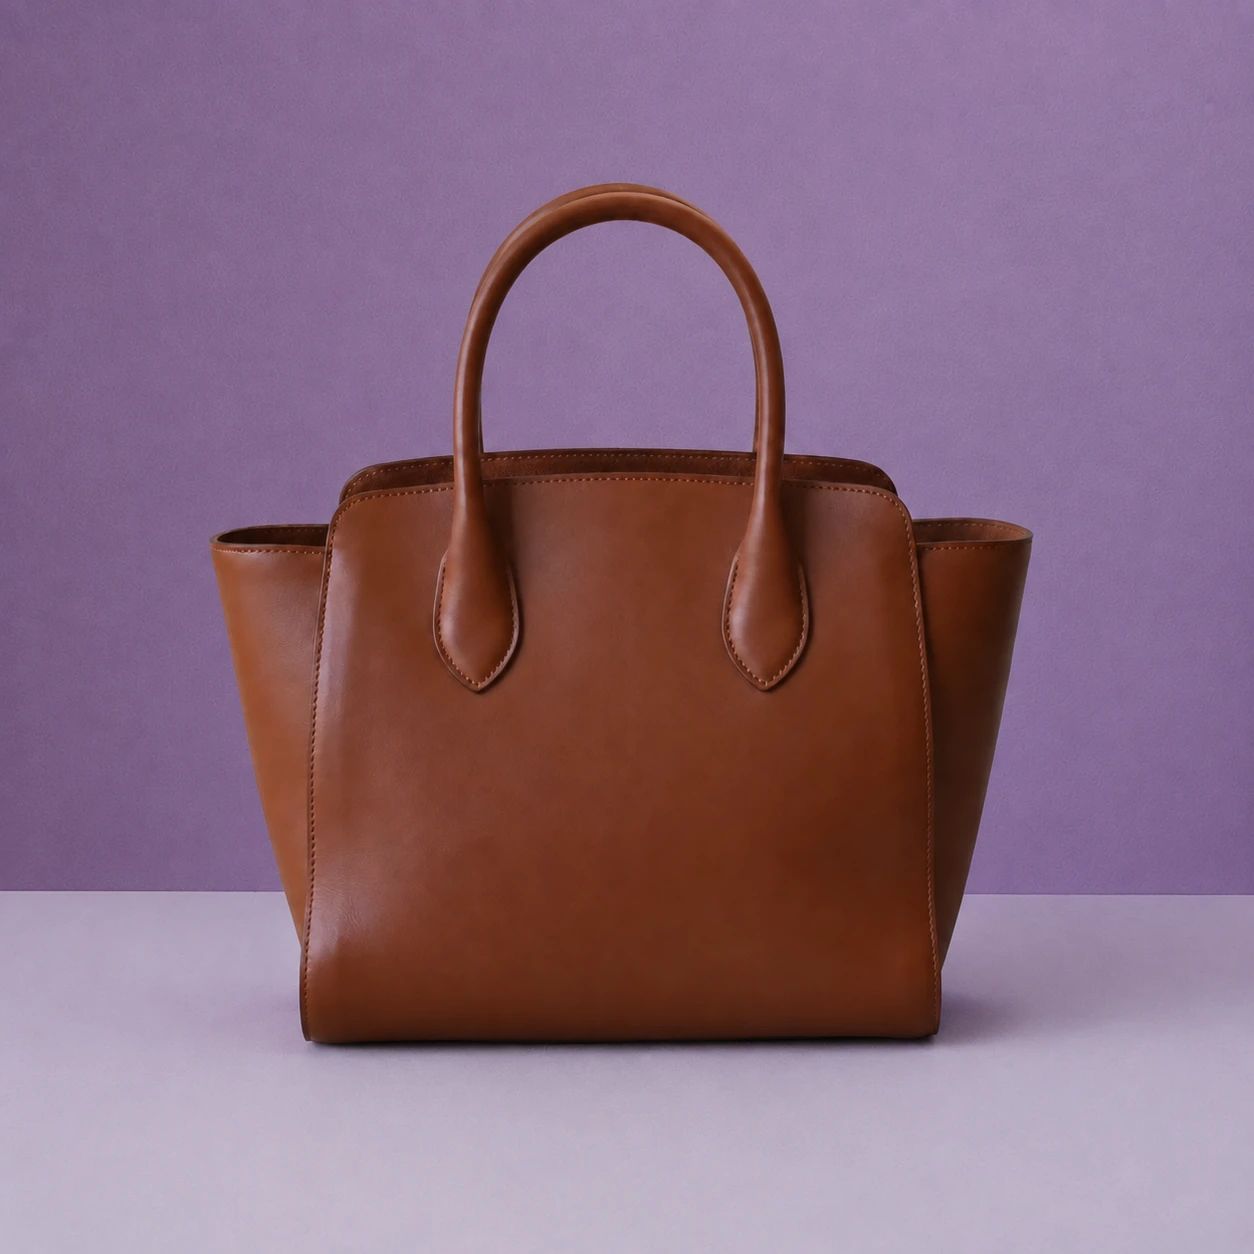
Isolare borse, calzature e accessori per i layout di merchandising, quindi ispezionare cinghie, fibbie, cuciture, texture del tessuto e ombre che possono influenzare il contorno del prodotto.
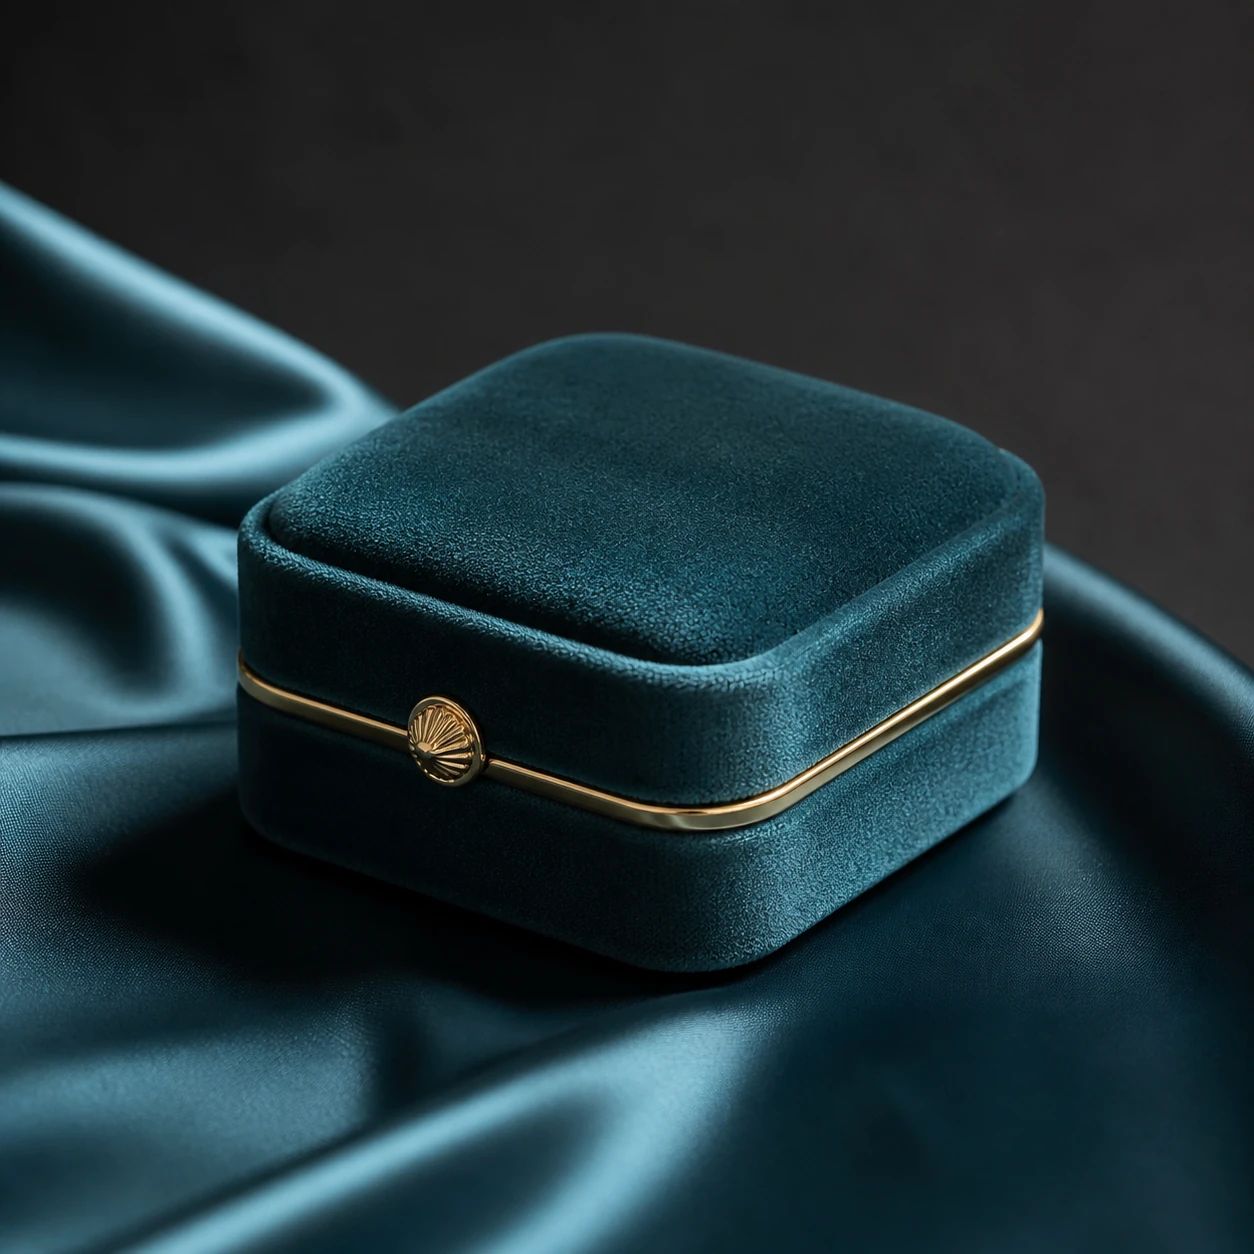
Prepara gioielli per uno sfondo neutro o trasparente e confronta bordi sottili, pietre, riflessi metallici, riflessi e qualsiasi dettaglio di ambientazione con la fonte.
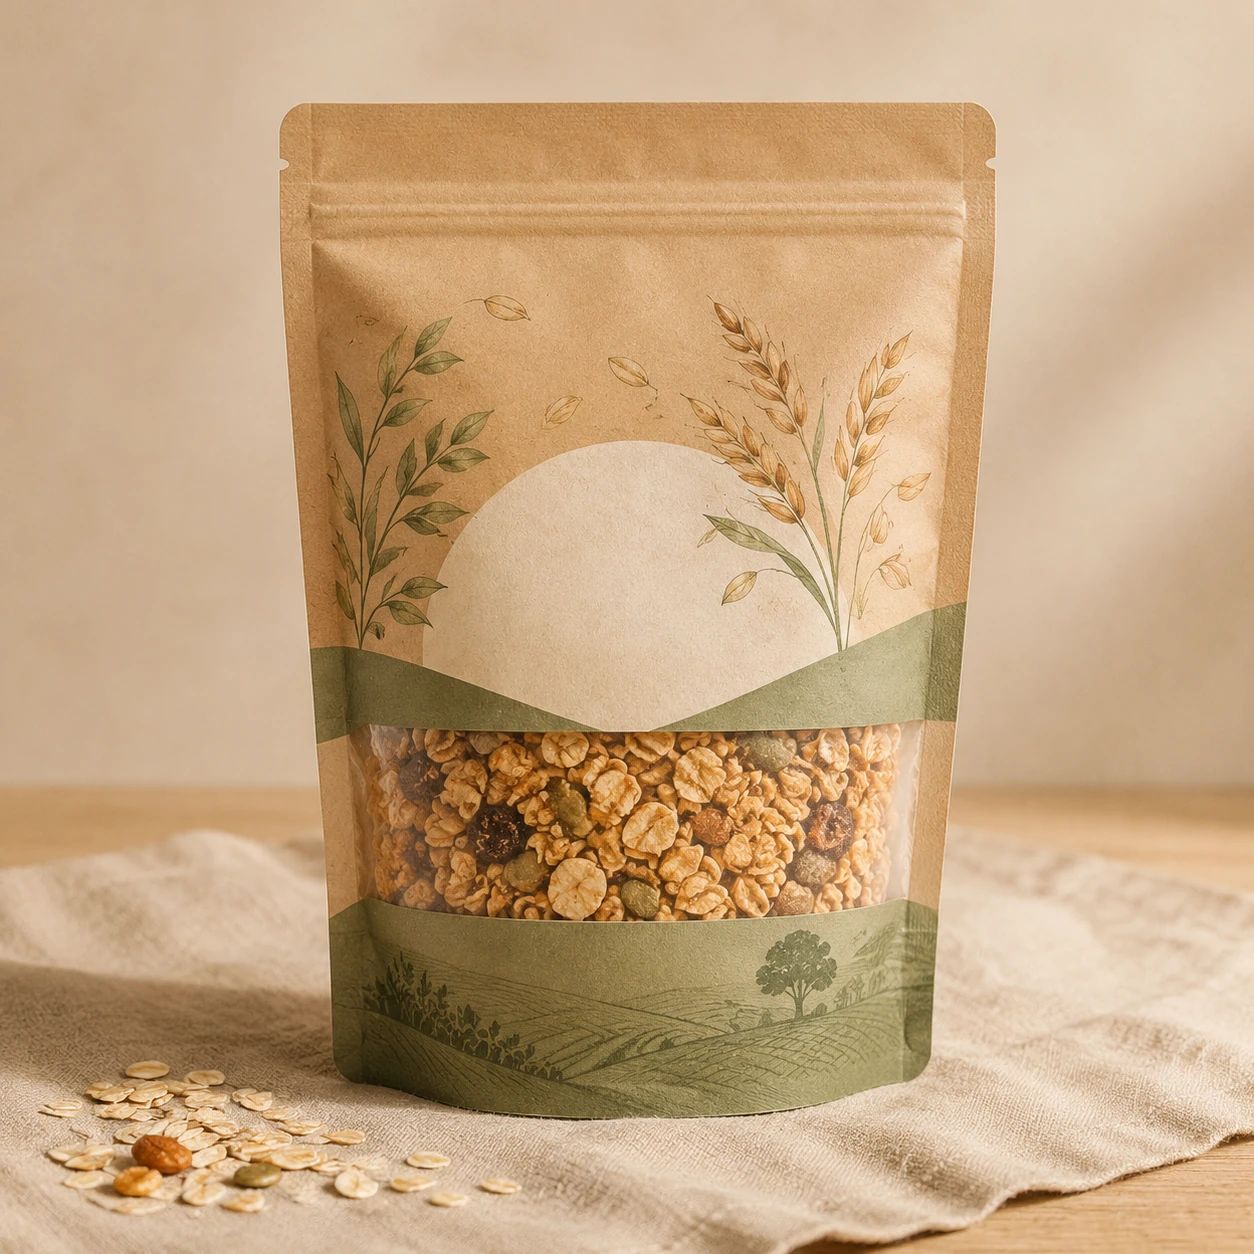
Crea livelli puliti per le pagine dei prodotti e la grafica promozionale controllando il testo delle etichette, i tappi, il vetro, le opere d'arte stampate e le proporzioni del packaging prima della pubblicazione.

Prepara immagini di prodotti lucidi per i team del catalogo, con un attento controllo del tipo piccolo, dei bordi della pompa o del cappuccio, dell'imballaggio riflettente, del colore e del ritaglio dell'immagine finale.
Guida pratica per la selezione delle immagini di origine, la revisione dei PNG trasparenti e la preparazione di ritagli per i flussi di lavoro di prodotti, persone e logo.
Carica l'immagine di origine più chiara disponibile, con il soggetto principale completamente visibile e ragionevolmente separato dall'ambiente circostante. Un prodotto, una persona o un logo nitidi e ben illuminati sono più facili da ispezionare dopo la rimozione dello sfondo. Lasciare un po' di spazio intorno all'argomento, ove possibile. Verifica la presenza di sfocature, ritagli severi, bordi nascosti, riflessi intensi o aree in cui lo sfondo originale corrisponde già al colore o alla trama del soggetto.
La rimozione dello sfondo ha lo scopo di produrre un ritaglio trasparente che può fungere da livello di immagine riutilizzabile. Controlla il risultato esportato prima di utilizzarlo in un elenco o in un file di progettazione. Provalo su sfondi temporanei sia chiari che scuri, perché un bordo pulito sul bianco può rivelare un alone su un colore più scuro. Confermare il formato di esportazione e il comportamento di trasparenza nel flusso di lavoro di destinazione.
Sì, le foto dei prodotti sono un punto di partenza comune per la rimozione dello sfondo. Usa il ritaglio per un annuncio con sfondo bianco, una nuova scena o un layout di catalogo solo dopo averlo confrontato con l'immagine originale del prodotto. Ispezionare etichette, loghi, imballaggi, colori, proporzioni e materiali importanti. Un ritaglio trasparente è utile per il lavoro di layout, ma non sostituisce l'accuratezza del prodotto o l'approvazione del canale.
Puoi usarlo per isolare una persona dalla scena originale per un profilo, una presentazione, un post sui social o un layout della campagna. Ispezionare capelli, bordi della pelle, occhiali, mani, vestiti e dettagli traslucidi alla dimensione finale del display. Un semplice background di origine può rendere più facile la revisione, ma ogni risultato deve comunque essere controllato. Scegli un nuovo posizionamento che mantenga il ritratto credibile e non nasconda caratteristiche importanti.
Usa la versione di altissima qualità che hai e mantieni il marchio abbastanza grande da poterlo ispezionare. Prima di approvare un ritaglio, controlla le scritte, i tratti sottili, i fori all'interno dei caratteri, gli angoli acuti e gli spazi trasparenti previsti. Confronta il logo con la sua fonte a grandezza naturale e alla dimensione che apparirà. Non dare per scontato che un vantaggio generato preservi ogni dettaglio del marchio senza una revisione visiva diretta.
Ispezionare maniglie, cinghie, cuciture, angoli, parti sottili e punti in cui il soggetto ha toccato lo sfondo originale. Cerca pixel rimanenti, contorni mancanti, linee tagliate dure, fuoriuscite di colore o aloni. Quindi posiziona il PNG trasparente sullo sfondo finale effettivo o approssimativo. Un bordo che sembra accettabile in isolamento può sembrare sbagliato una volta che si trova accanto a un nuovo colore, ombra o contenuto dell'immagine circostante.
Possono aver bisogno di particolare attenzione. Vetro, metallo lucido, imballaggi lucidi, gioielli e plastica traslucida possono mostrare falsi riflessi, punti luce mancanti o bordi irregolari dopo la rimozione dello sfondo. Confronta quelle aree con l'immagine di origine di dimensioni maggiori. Se il risultato non è chiaro, provare un'immagine di origine più pulita o un'opzione diversa e mantenere il caso d'uso finale abbastanza semplice da garantire la leggibilità del prodotto.
Un singolo PNG trasparente può essere un utile strato di partenza, ma ogni canale può richiedere un diverso trattamento di ritaglio, scala, margine o sfondo. Crea composizioni separate quando un riquadro del marketplace, un banner ampio, un annuncio verticale e una pagina dei dettagli del prodotto necessitano di un'enfasi diversa. Controlla ogni posizionamento finale alla sua dimensione visualizzata e controlla tu stesso le regole del canale corrente prima di pubblicare o inviare una risorsa.
Crea una checklist di revisione ripetibile che copra la qualità della fonte, la silhouette, le etichette, il colore, i dettagli del materiale, il formato di esportazione, il ritaglio e il posizionamento finale. Mantieni l'immagine originale con il ritaglio approvato in modo che i revisori possano confrontarli in un secondo momento. Utilizzare un approccio di tela e spaziatura coerente ove appropriato, tenendo conto delle diverse forme del prodotto. Rivedi insieme una collezione prima che venga pubblicato un aggiornamento del catalogo.
Identifica prima il problema esatto: un bordo mancante, un alone, un'area trasparente errata, un dettaglio morbido o una caratteristica del prodotto modificata. Prova un'altra immagine sorgente chiara quando l'originale è sfocato, ben ritagliato o visivamente complesso. Testare il risultato successivo rispetto allo sfondo e alle dimensioni previsti. Non pubblicare la risorsa fino a quando il soggetto, le etichette, i colori e i dettagli importanti non corrispondono abbastanza da vicino alla fonte per il suo utilizzo.
Utilizza uno strumento di rimozione dello sfondo AI per creare un livello di lavoro trasparente da una foto, un ritratto, un logo o un'immagine del prodotto. Utilizzalo come inizio di un annuncio, di un design o della composizione di una campagna, quindi rivedi l'oggetto, i bordi, il ritaglio e i requisiti di destinazione prima di pubblicarlo. Un attento confronto con la sorgente aiuta a mantenere l'immagine finale comprensibile e appropriata per il suo canale.
Inizia con un'immagine sorgente chiara, quindi ispeziona i bordi e i dettagli prima che il ritaglio raggiunga il layout finale.